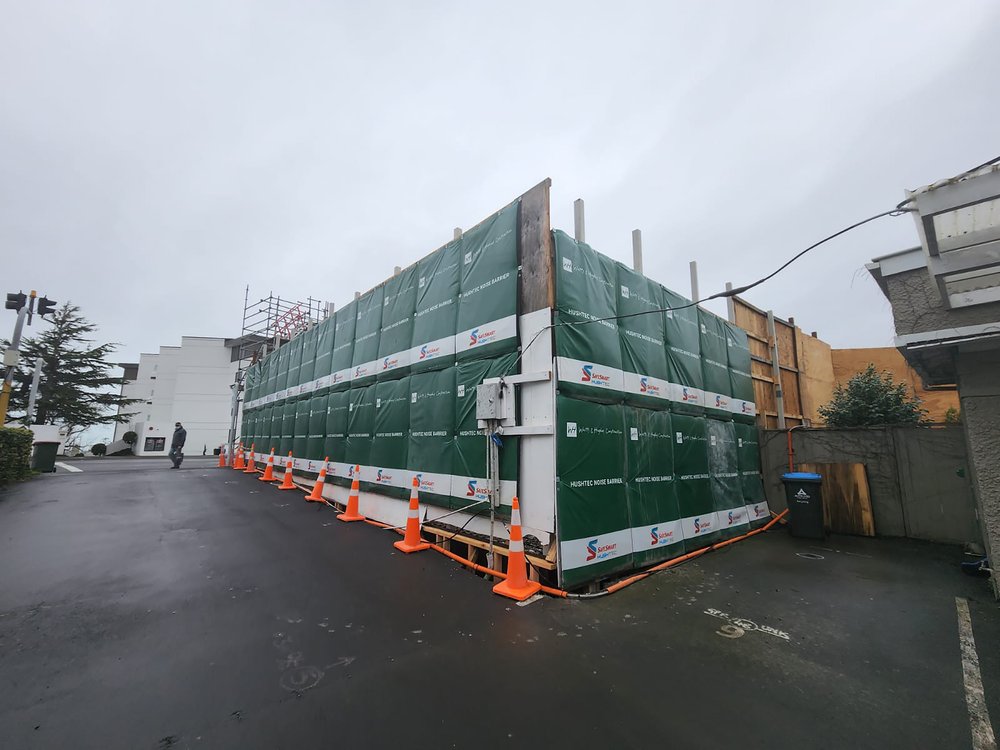
Living in an environment with high noise levels can be quite an unsettling experience. For many homeowners, the construction of a noise barrier—such as a fence, wall, or berm — proves to be a vital solution in reducing external disturbances. Yet, the efficacy of these barriers hinges greatly on the level of maintenance they receive.
The Crucial Role of Noise Barrier Maintenance
Just installing a barrier isn’t the end of the battle. Regular maintenance is the key to ensuring that your barrier functions as intended for years to come.
A well-maintained noise barrier not only delivers on its promise of reducing sound transmission but also contributes to the aesthetic appeal and overall property value.
Step 1: Inspection—Know Your Barrier
A thorough inspection of the noise barrier is the very first step in effective maintenance. This involves looking for signs of deterioration, checking stability, and identifying any visible damage.
How to Inspect Your Noise Barrier
- Walk the length of the barrier and note the consistency of its structure.
- Check for signs of damage, such as cracks, chips, or missing pieces.
- Verify that the barrier is still securely anchored to its foundation.
- Evaluate the presence of any plant or mould growth that could signal underlying issues.
Step 2: Cleaning—A Fresh Start
Cleaning a noise barrier is not complex, but it requires proper attention to materials and potential environmental impact. Neglecting to clean your barrier can lead to corrosion and reduce the effectiveness of any further maintenance work.
The Cleaning Process
- Use a gentle detergent and water solution for routine cleaning.
- For more stubborn debris, a diluted bleach solution can be effective on non-porous materials.
- Scrub the surface with a soft-bristled brush or sponge to avoid scratching.
- Rinse thoroughly with water to prevent residue buildup.
Step 3: Repair—Addressing Damages
Repairs may range from patching small holes to replacing damaged sections of the barrier. This step is crucial in maintaining the barrier’s structural integrity and ensuring continued sound reduction.
How to Approach Repairs
- Use a suitable, weather-resistant patching compound for small holes or cracks.
- For more extensive damage, such as a missing panel, refer to the barrier’s installation manual for appropriate replacement materials.
- Seal all joints after repairs to prevent water seepage and future damage.
Step 4: Protection—The Maintenance Prophylactic
Once cleaned and repaired, applying a protective coating or sealant can go a long way in extending the life of your noise barrier. This extra layer not only guards against weathering but can also make future cleaning simpler.
Applying Protective Layers
- Select a coating that is compatible with the barrier material and suitable for outdoor use.
- Prep the barrier surface by ensuring it’s completely clean and dry.
- Follow the manufacturer’s instructions for application, which usually involve using a brush or roller.
- Allow ample drying time before considering the barrier fully protected.
Step 5: Regular Maintenance—A Proactive Approach
To maintain a barrier’s peak performance, set up a regular maintenance routine. This often involves seasonal checks, cleaning as necessary, and addressing any new damages promptly.
Establishing a Maintenance Schedule
- Create a maintenance calendar with bi-annual or quarterly checks.
- Schedule cleanings before and after harsh weather conditions.
- Keep a record of previous maintenance and note any recurring issues or areas of concern.
Conclusion: A Sound Plan for the Future
To ensure that noise barriers effectively deliver the desired peace and privacy, homeowners should follow these maintenance steps. Regular upkeep not only protects the value of the investment but also ensures long-term noise control. Remember, maintaining your noise barrier is essential for preserving your quality of life and taking care of your property.

